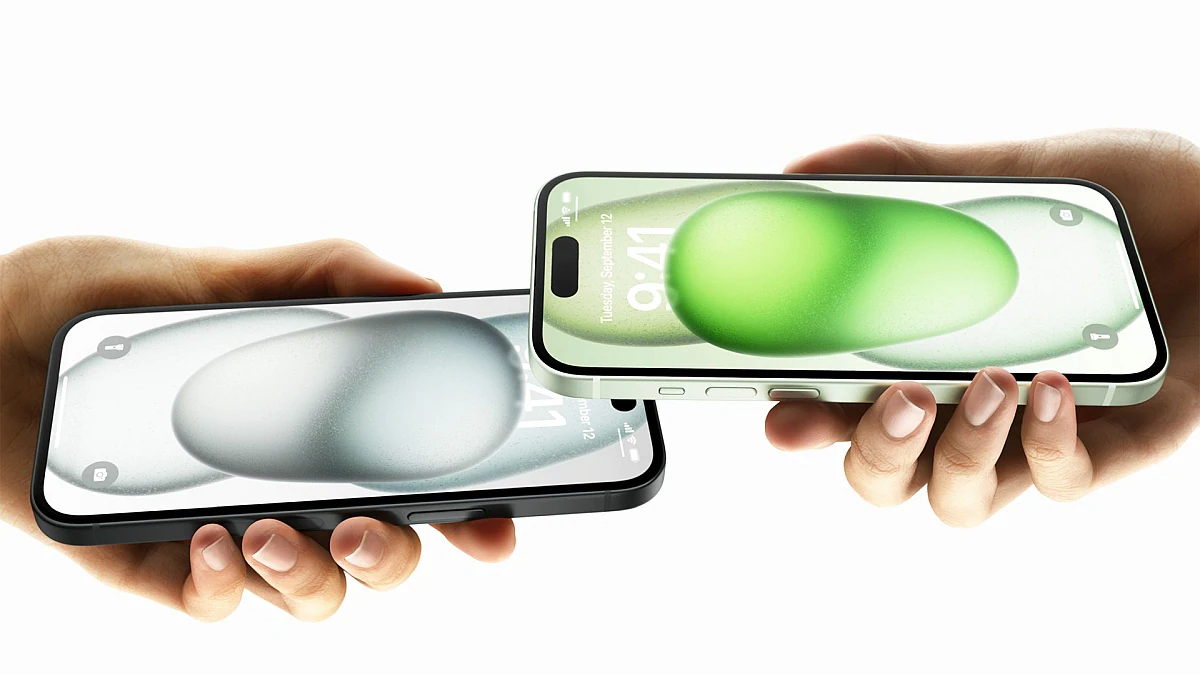
Hey there, tech enthusiasts and Apple aficionados! Are you ready to become an AirDrop wizard? Buckle up, because we’re about to dive into the wonderful world of wireless file transfer that’ll make you feel like you’re living in the future (spoiler alert: you kind of are).
What’s the Deal with AirDrop?
AirDrop is Apple’s nifty little feature that lets you zap files between your Apple devices faster than you can say “Where’s my USB cable?” It uses a clever combination of Wi-Fi and Bluetooth to identify nearby Apple devices and transfer files with the speed of a caffeinated cheetah.
But here’s the kicker – you need to know how to turn it on first. Don’t worry, it’s easier than trying to fold a fitted sheet (which, let’s be honest, is probably dark magic).
Turning on AirDrop: iPhone and iPad Edition
Got an iPhone or iPad? Great! You’ve got two options to activate AirDrop:
The “I’m in a hurry” method (Control Center):
- Swipe down from the top-right corner of your screen.
- Long-press the network settings block.
- Tap the AirDrop icon and choose “Contacts Only” or “Everyone for 10 Minutes.”
The “I like to take the scenic route” method (Settings app):
- Open Settings and navigate to General.
- Tap on AirDrop and select your preferred visibility option.
Turning on AirDrop: Mac Attack
For you Mac users out there, you’ve got three paths to AirDrop enlightenment:
Control Center (for the cool kids with newer macOS):
- Click the Control Center icon in the menu bar.
- Click the AirDrop icon to toggle it on/off.
- Use the arrow next to AirDrop to set your visibility preferences.
System Settings (for the methodical types):
- Open System Settings and go to General.
- Click on AirDrop & Handoff.
- Choose your visibility from the drop-down menu.
Finder (for the old-school crowd):
- Open Finder and click on AirDrop in the sidebar.
- Set your discoverability using the drop-down menu at the bottom.
AirDrop Visibility: Choose Your Adventure
When it comes to AirDrop visibility, you’ve got three flavors to choose from:
- Receiving Off: The “leave me alone, I’m incognito” option.
- Contacts Only: The “stranger danger” setting for cautious types.
- Everyone for 10 Minutes: The “I’m feeling social” choice for the brave.
Remember, you need to be discoverable to exchange files, so “Receiving Off” is like trying to high-five someone with your hands in your pockets – it just doesn’t work.
Troubleshooting: When AirDrop Goes MIA
If AirDrop isn’t working, don’t throw your device out the window just yet. Make sure:
- Both Wi-Fi and Bluetooth are enabled.
- Your devices are close enough (AirDrop isn’t telepathic… yet).
- Your Apple ID is signed in on both devices.
- You’ve updated to the latest iOS or macOS version.
Still no luck? Try toggling AirDrop off and on again. It’s the tech equivalent of “Have you tried turning it off and on again?”
Wrapping Up
There you have it, folks! You’re now equipped with the knowledge to AirDrop like a seasoned pro. Whether you’re sharing memes, important documents, or that embarrassing photo of your friend at last night’s party (use this power responsibly), AirDrop has got your back.
Remember, with great AirDrop power comes great responsibility. Use it wisely, and may your file transfers be swift and your connections strong. Now go forth and AirDrop like the tech wizard you were born to be!
