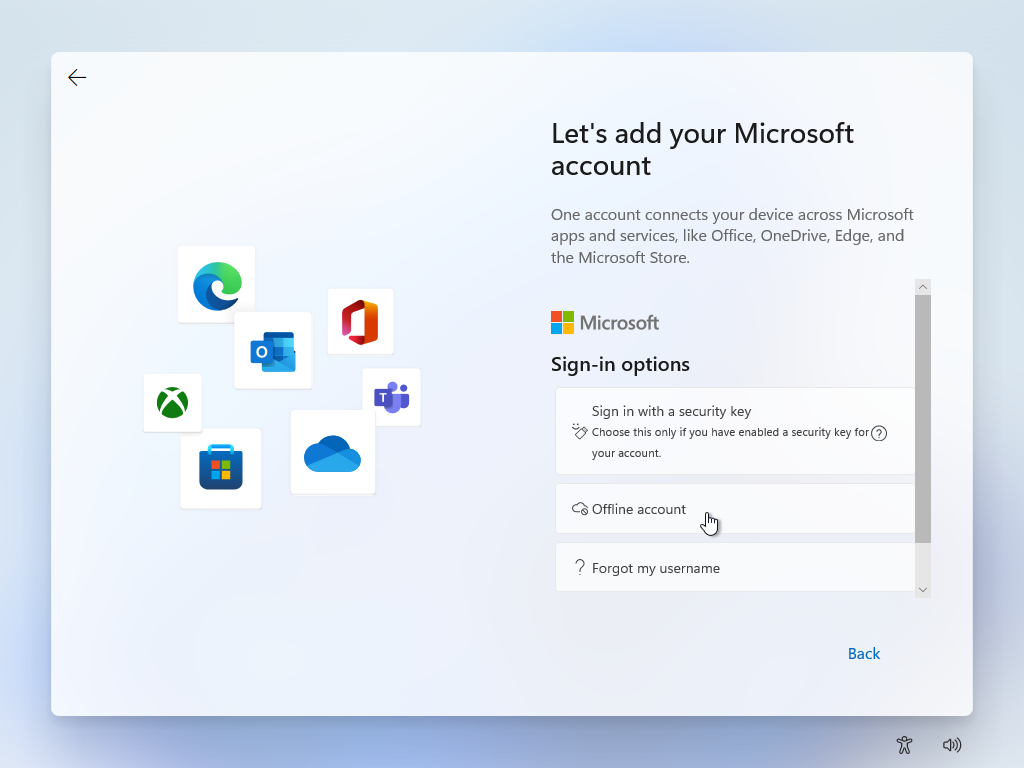
Are you tired of jumping through hoops just to get your new Windows 11 system up and running? You’re not alone! Microsoft’s insistence on linking your shiny new OS to a Microsoft account can feel like an unnecessary hurdle. But fear not, tech enthusiasts! I’m here to show you how to outsmart the system and set up Windows 11 without surrendering your digital soul to the cloud overlords.
Why Bypass the Microsoft Account Requirement?
Before we dive into the nitty-gritty, let’s address the elephant in the room: Why would you want to skip the Microsoft account login? Well, for starters:
- Privacy concerns: Not everyone wants their local PC tied to an online account.
- Offline usage: Some users prefer a completely local experience.
- Simplicity: Sometimes, you just want to get up and running without the extra steps.
- Multiple users: Setting up shared computers is easier with local accounts.
Method 1: The Command Prompt Ninja Technique
This method is perfect for those who like to feel like hackers in a ’90s movie. Here’s how to pull it off:
- Begin the Windows 11 installation as normal.
- When you reach the “Let’s connect you to a network” screen, press Shift + F10 to summon the Command Prompt.
- Type the following command and press Enter:
oobe\bypassnro
- Your PC will restart, and you’ll be greeted with a “Continue with limited setup” option.
- Choose this option, and voila! You can now set up a local account without Microsoft’s watchful eye.
Pro tip: If you’re feeling extra sneaky, disconnect your internet before starting this process. Windows can’t force you to connect if there’s no network to connect to!
Method 2: The Rufus USB Wizard
For those who prefer a more graphical approach or want to create a custom installation media, Rufus is your new best friend. Here’s the lowdown:
- Download Rufus from the official website (rufus.ie).
- Grab the latest Windows 11 ISO from Microsoft’s website.
- Launch Rufus and select your Windows 11 ISO.
- Click “START” and look for the “Remove requirement for online Microsoft account” option.
- Check that box faster than you can say “privacy, please!”
- Create your bootable USB and use it to install Windows 11.
This method is particularly handy if you’re setting up multiple PCs or want to keep a Microsoft-account-free installation media on hand.
The Benefits of Going Microsoft-Account-Free
By setting up Windows 11 without a Microsoft account, you’re not just saving time – you’re taking control of your digital experience. You’ll enjoy:
- Faster setup times
- Increased privacy
- The ability to create multiple local accounts easily
- A sense of satisfaction from outsmarting the system
Remember, though, that while you’re bypassing the initial account requirement, you can still add a Microsoft account later if you decide you want those sweet, sweet cloud features.
Conclusion: Freedom of Choice in the Digital Age
While Microsoft’s push for connected accounts has its merits, it’s crucial to have options. Whether you’re a privacy advocate, an IT professional managing multiple systems, or just someone who likes to keep things simple, these methods give you the freedom to set up Windows 11 on your terms.
So go forth, install Windows 11 your way, and may your boot times be swift and your privacy intact. And remember, in the world of tech, there’s always a workaround – you just need to know where to look!
